Understanding perspective distortion is the first step on your journey to amazing images; it’s a crucial concept in photography where landscape and architectural photography intersect. Vertical exaggeration for dummies means mastering how to manipulate perception, and it’s surprisingly accessible. Adobe Photoshop will be your friend, it allows for fine-tuning and creative exploration beyond the camera’s initial capture. This technique can transform mundane scenes into truly epic shots and enhance your creative portfolio by making your photographs stand out.
Vertical Exaggeration for Dummies: Epic Photos Now!
So, you want your photos to pop, to have that "wow" factor that makes people stop scrolling? You’ve likely seen images where mountains look impossibly tall, valleys unbelievably deep, or cityscapes dramatically squeezed together. The secret? Vertical exaggeration. Don’t worry; it’s not as complicated as it sounds! This guide, perfect for "vertical exageration for dummies," will break down the process into easy-to-understand steps, so you can start creating epic photos today.
What is Vertical Exaggeration?
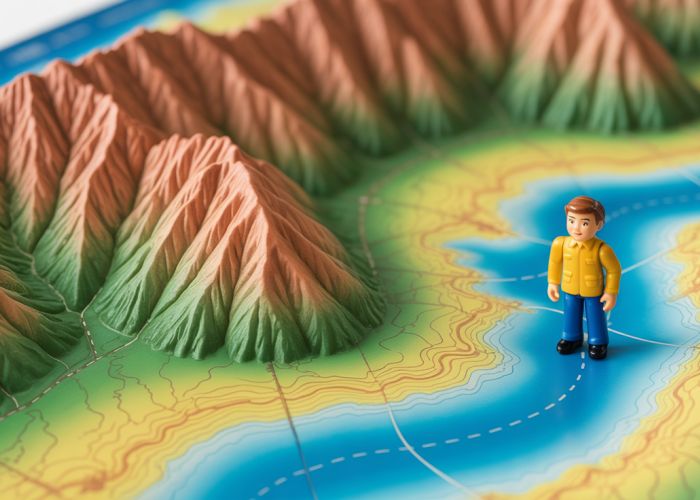
Vertical exaggeration is, simply put, making things look taller or steeper than they actually are. It’s a visual trick, often used in photography and 3D modeling, to emphasize the vertical dimension of a landscape or object. Think of it as visually stretching the height, making it more prominent in the final image.
Why Use It?
- Drama: Adds a sense of scale and impact to your photos.
- Emphasis: Highlights interesting features of the terrain.
- Artistic Flair: Creates a unique and visually appealing style.
- Correcting Distortion: Can be used to counteract the flattening effect of wide-angle lenses.
Getting Started: The Basic Tools
You don’t need fancy equipment or years of experience to experiment with vertical exaggeration. Here’s what you’ll need:
- A Camera (or even a phone camera!): Any camera capable of taking photos is fine.
- Image Editing Software: Think of something user-friendly like Adobe Lightroom, GIMP (free!), or even phone apps like Snapseed or VSCO. We’ll be focusing on simple techniques, so you don’t need advanced Photoshop skills.
The Core Technique: Aspect Ratio Modification
The simplest method for "vertical exageration for dummies" involves manipulating the aspect ratio of your image. Aspect ratio refers to the relationship between the width and height of an image.
Step-by-Step Guide to Aspect Ratio Exaggeration
-
Take a Photo: Capture your scene. Choose subjects where the vertical features are already somewhat prominent (e.g., mountains, tall buildings).
-
Open Your Image Editor: Load your photo into your chosen image editor.
-
Find the "Crop" Tool: Most image editors have a crop tool. Locate it.
-
Adjust the Aspect Ratio:
- Unlock the Aspect Ratio: The crop tool often has an option to lock or unlock the aspect ratio. Make sure it’s unlocked! If locked, it will maintain the original width-to-height ratio.
- Increase the Height: Click and drag the top or bottom handles of the crop area. Extend the crop vertically, making the image taller than it is wide. This "stretches" the image upwards.
- Note: Be careful not to overdo it! Extreme stretching can make the image look unnatural and distorted. Subtlety is key.
-
Frame Your Subject: Adjust the crop to ensure your subject is still nicely framed within the exaggerated aspect ratio.
-
Apply the Crop: Click the "apply" or "ok" button on the crop tool.
-
Save Your Image: Export or save the image.
Examples of Aspect Ratios for Vertical Exaggeration
| Original Aspect Ratio | Modified Aspect Ratio (Example) | Effect |
|---|---|---|
| 4:3 | 4:5 | Slight exaggeration |
| 3:2 | 3:4 | Moderate exaggeration |
| 16:9 | 16:12 | More noticeable |
Remember to experiment and find what works best for your specific photo and taste. There is no one-size-fits-all solution.
Tips for Better Vertical Exaggeration
-
Shoot from a Low Angle: A low perspective will naturally emphasize the height of your subject. Think of photographing a skyscraper from street level – the building already looks incredibly tall.
-
Choose Subjects Wisely: Vertical exaggeration works best with subjects that already possess a strong vertical presence, such as mountains, waterfalls, tall buildings, or trees.
-
Avoid Exaggerating Skies: Unless it is intentional, excessive stretching of the sky can look unnatural. Try to focus the exaggeration on the land or the main subject.
-
Experiment with Different Ratios: Start with small adjustments and gradually increase the exaggeration until you achieve the desired effect.
-
Consider Composition: Pay attention to the overall composition of your photo. Vertical exaggeration can be used to create a more dynamic and visually appealing image, but it’s important to maintain balance and harmony.
-
Practice Makes Perfect: The more you experiment with vertical exaggeration, the better you will become at judging how much to apply to create the most effective and visually stunning results. "Vertical exageration for dummies" becomes "Vertical exageration masters" with dedication!
Vertical Exaggeration for Dummies: FAQs
Here are some common questions about understanding and using vertical exaggeration to enhance your landscape photography.
What exactly is vertical exaggeration in photography?
Vertical exaggeration is a technique that emphasizes the vertical scale of a landscape. It makes hills and mountains appear steeper and more dramatic than they are in reality. It’s often achieved in post-processing by manipulating the perspective. Think of it as artificially stretching the height dimension.
Why would I want to use vertical exaggeration for dummies like me?
It’s a fantastic tool for creating visually striking images! Using vertical exaggeration, you can transform relatively flat scenes into impressive mountainscapes. It adds a sense of grandeur and depth to your photos that might otherwise be missing, which is great for impact.
How does vertical exaggeration differ from just zooming in with my camera?
Zooming simply magnifies everything equally. Vertical exaggeration selectively stretches the vertical elements, compressing the horizontal. This creates a unique distortion effect that regular zooming can’t replicate. When done well, vertical exageration helps to draw the viewer’s eye upwards.
Are there any downsides to using vertical exaggeration?
Overdoing vertical exaggeration can lead to an unnatural and unrealistic look. Subjects can appear squashed horizontally. The key is to use it subtly and tastefully. Balance is important to achieve a visually pleasing result.
So, go out there and give vertical exaggeration for dummies a try! Don’t be afraid to experiment and have some fun with it. You might just surprise yourself with what you can create. Can’t wait to see what you come up with!