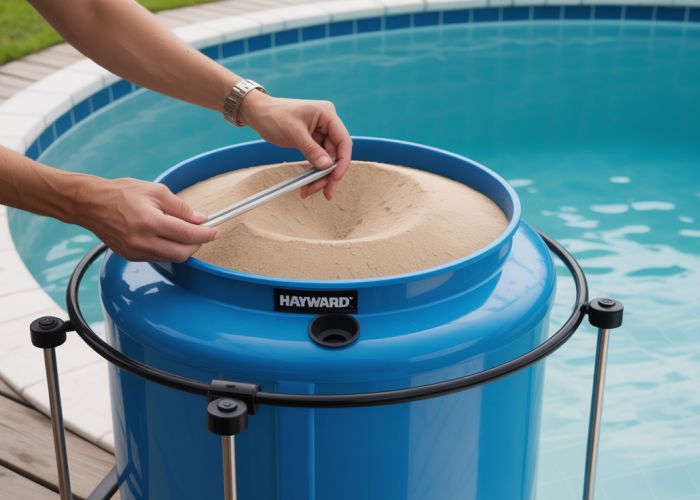
Maintaining a clean and efficient swimming pool often relies on the performance of your sand filter. Hayward Pool Products designs several popular models, including the Hayward S310S. This guide offers a straightforward approach when it’s time for your hayward s300 sand change. The sand filter itself traps debris, but over time, this media needs replacing to function optimally. Properly changing the sand involves understanding the multiport valve settings, ensuring a clean and clear swimming experience.
Hayward S310S Sand Change: Easy Step-by-Step Guide! – Article Layout
This outlines the ideal structure and content for an article guiding users through a Hayward S310S sand change, optimized for the keyword "hayward s300 sand change." Note that while the article focuses on the S310S model, mentioning compatibility and similarities to the S300 model is beneficial for search visibility.
Introduction
- Briefly explain why changing the sand in a sand filter is important. Highlight benefits like improved water clarity, efficient filtration, and preventing damage to the pool pump.
- Mention how often the sand should be changed (typically every 3-5 years).
- Clearly state that this guide is for the Hayward S310S sand filter, but the steps are similar for other Hayward sand filters, including the S300 series. This addresses the "hayward s300 sand change" keyword.
- Outline the tools and materials needed for the job. This sets reader expectations and helps them prepare.
Preparing for the Sand Change
- Safety First: Emphasize the importance of safety precautions.
- Disconnect the power to the pool pump before starting.
- Wear safety glasses and a dust mask.
- Work in a well-ventilated area.
- Gathering Tools and Materials: Provide a detailed list.
- New filter sand (Silica sand, size 20 is recommended)
- Flathead screwdriver or wrench (for removing hoses and drain plug)
- Garden hose
- Shop vacuum (optional, for removing stubborn sand)
- Bucket or container for old sand
- Plumber’s tape (Teflon tape)
- New lateral assembly (recommended for replacement with each sand change)
- Preparing the Work Area: Explain how to make the task easier.
- Position the filter in a convenient location.
- Have all tools and materials readily available.
- Clear the area of obstructions.
Step-by-Step Sand Change Instructions
- Turn Off the Pump and Valves:
- Clearly describe the steps for shutting down the pump and closing all relevant valves to isolate the filter. Include diagrams or pictures if possible.
- Emphasize turning off the power!
- Drain the Water:
- Locate and open the drain plug at the bottom of the filter.
- Allow the water to drain completely.
- Explain what to do with the drained water (dispose of it properly).
- Disconnect the Multiport Valve:
- Carefully disconnect the multiport valve from the filter tank.
- Note the position of the hoses and connections for reassembly. Taking photos is highly recommended.
- Consider labeling the hoses with tape to avoid confusion later.
- Remove the Old Sand:
- This is the most labor-intensive part. Offer several methods:
- Scooping by Hand: Using a bucket or container to scoop out the sand.
- Using a Shop Vacuum: A shop vacuum can significantly speed up the process. Be careful not to damage the laterals.
- Important Tip: Explain that a small amount of water can sometimes help loosen the sand.
- This is the most labor-intensive part. Offer several methods:
- Inspect and Replace Laterals (Recommended):
- Importance of Inspection: Explain why inspecting the lateral assembly is crucial.
- Checking for Damage: Detail what types of damage to look for (cracks, breaks, clogging).
- Replacement Recommendation: Strongly advise replacing the lateral assembly every time the sand is changed. This ensures optimal filtration and prevents future problems.
- How to Replace:
- Carefully remove the old lateral assembly.
- Install the new lateral assembly according to the manufacturer’s instructions.
- Clean the Filter Tank:
- Rinse the inside of the tank thoroughly with a garden hose to remove any remaining debris.
- Refill the Filter with New Sand:
- Sand Type: Reinforce the importance of using the correct type and size of filter sand (silica sand, size 20).
- Filling Procedure: Slowly pour the sand into the tank, being careful not to damage the laterals.
- Water Level: Add water to the tank as you fill it with sand to help protect the laterals.
- Sand Level: Fill the tank to the recommended level as indicated by the manufacturer (typically about halfway up the tank).
- Reattach the Multiport Valve:
- Carefully reattach the multiport valve to the filter tank, ensuring a tight seal.
- Use plumber’s tape on the threads of the connections to prevent leaks.
- Refer to the photos or labels taken earlier to ensure correct hose connections.
- Backwash the Filter:
- Before starting normal filtration, backwash the filter to remove any fine particles from the new sand.
- Set the multiport valve to the "Backwash" position.
- Turn on the pump and allow it to run for a few minutes until the water runs clear.
- Rinse the Filter:
- After backwashing, set the multiport valve to the "Rinse" position.
- Run the pump for a minute to settle the sand bed.
- Return to Normal Filtration:
- Set the multiport valve to the "Filter" position.
- Turn on the pump and resume normal filtration.
- Monitor for Leaks:
- Inspect all connections for leaks and tighten them if necessary.
Troubleshooting Common Problems
- Cloudy Water After Sand Change: Explain potential causes (not enough backwashing, incorrect sand type, damaged laterals) and solutions.
- Low Water Pressure: Discuss potential causes (clogged sand, malfunctioning pump) and solutions.
- Leaks Around the Multiport Valve: Describe causes (worn o-rings, loose connections) and solutions.
Maintaining Your Sand Filter for Longevity
- Regular Backwashing: Emphasize the importance of regular backwashing to maintain optimal filtration.
- Water Chemistry: Explain the impact of proper water chemistry on the filter’s performance and lifespan.
- Winterizing: Outline the steps for winterizing the sand filter to prevent damage from freezing temperatures.
This detailed layout provides a comprehensive guide for readers, optimizes for the target keyword "hayward s300 sand change" (and variations), and addresses potential issues and maintenance best practices. The structured format enhances readability and usability.
Hayward S310S Sand Change: FAQs
Here are some frequently asked questions to help you with your Hayward S310S sand filter change. This should clarify any confusion.
How often should I change the sand in my Hayward S310S sand filter?
Typically, you should change the sand in your Hayward S310S sand filter every 3-5 years. However, this can vary depending on your pool’s usage and water quality. If you notice consistently poor filtration or cloudiness despite backwashing, it’s likely time for a sand change.
What type of sand should I use for my Hayward S310S sand filter?
You should use #20 silica filter sand specifically designed for sand filters. Do not use play sand or other types of sand, as they can clog the filter and damage your equipment. When doing a hayward s300 sand change or other filter, remember this key advice.
Can I reuse the old sand from my Hayward S310S?
No, it is not recommended to reuse old sand. Over time, the sand becomes contaminated with debris, algae, and oils, which can reduce its filtration effectiveness and potentially harm your pool water quality. Doing a proper hayward s300 sand change means using fresh sand.
How much sand does my Hayward S310S sand filter require?
The Hayward S310S sand filter typically requires around 300 pounds of sand. Refer to your filter’s manual or the label on the filter tank to confirm the exact amount required for your specific model.
And that’s all there is to it! Hope this makes your hayward s300 sand change a breeze. Get out there and enjoy that sparkling pool!