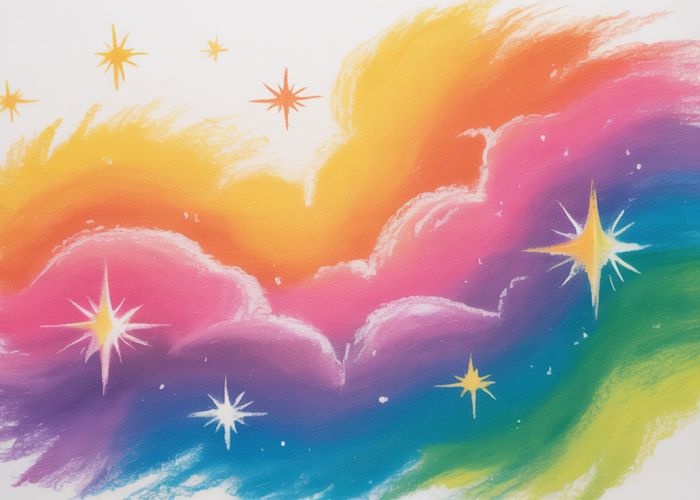
Creating stunning celestial artwork feels attainable, even for beginners, through nebula drawing easy techniques. Pencil blending, a fundamental skill, unlocks the potential for smooth gradients and captivating light effects within your nebula. NASA provides a constant stream of breathtaking images, perfect for inspiring your cosmic creations and understanding the color palettes prevalent in real nebulae. Artistic inspiration from figures like Van Gogh, known for their masterful depictions of the night sky, can also fuel your own exploration of nebula drawing easy.

Unlocking the Cosmos: Your Simple Guide to Nebula Drawing!
Let’s embark on a creative journey to capture the beauty of nebulas on paper! This guide will provide a structured approach to make nebula drawing easy, even if you’re just starting. We’ll break down the process into manageable steps, focusing on readily available materials and simple techniques.
Gathering Your Cosmic Tools
Before we dive into the drawing, it’s essential to have the right tools. This ensures a smooth and enjoyable experience.
Materials Checklist:
- Paper: Smooth drawing paper is ideal, but printer paper will also work to begin with.
- Pencils: A range of pencils (e.g., 2B, 4B, 6B) will help create depth.
- Eraser: A kneaded eraser is perfect for lifting graphite and creating subtle highlights. A standard eraser is good for more defined corrections.
- Blending Tools: Cotton swabs, blending stumps, or even your fingers can be used for smooth transitions.
- Optional: Colored pencils, pastels, or watercolors can add vibrant colors to your nebula.
Laying the Foundation: Basic Shapes and Composition
Think of this stage as building the scaffolding for your nebula. We’ll start with simple shapes and gradually add details.
Creating a Basic Shape:
- Lightly sketch a general shape for your nebula. This could be a circle, oval, or an irregular form. Don’t worry about being perfect; nebulas are naturally chaotic.
- Divide the shape into sections. This will help you organize different areas of color and intensity. Imagine splitting it into cloud-like forms.
Establishing Depth:
- Use your darker pencils (4B, 6B) to shade in the core regions of the nebula, making them the darkest areas. These are the regions where the dust and gas are most concentrated.
- Gradually fade the shading outward, using lighter pencils (2B) as you move towards the edges. This creates a sense of depth and three-dimensionality.
Adding Color and Texture: Breathing Life into Your Nebula
This is where your nebula really starts to come to life! We’ll add color and texture to create a more realistic and visually appealing effect.
Blending Techniques:
- Smudging: Use a cotton swab or blending stump to gently smudge the pencil lines, creating smooth transitions between light and dark areas.
- Layering: Apply multiple layers of color and shading to build up depth and complexity. Let each layer dry slightly before adding the next.
- Lifting: Use a kneaded eraser to lift graphite from certain areas, creating highlights and adding a sense of luminosity.
Color Application Guide:
Refer to the table below to help you choose which colors you would like to incorporate:
| Color | Effect | Technique |
|---|---|---|
| Blues | Coolness, depth | Lightly apply blue pencils or pastels to the outer regions of the nebula. |
| Reds/Oranges | Warmth, energetic areas | Use red and orange tones for areas of intense star formation. |
| Purples | Mystical, ethereal quality | Blend purple tones into the blue and red areas for a more complex effect. |
| Yellows | Luminous, bright regions | Add yellow to areas where stars are forming or shining through the dust clouds. |
Incorporating Star Dust:
- Use a white gel pen or white pencil to add tiny dots of light across the nebula. These represent distant stars shining through the cosmic dust.
- Vary the size and intensity of the dots to create a more realistic effect.
Fine-Tuning and Final Touches: Polishing Your Cosmic Masterpiece
Now it’s time to step back and assess your work. Look for areas that need improvement and add any final touches to complete your nebula drawing.
Refining Details:
- Edges: Soften the edges of the nebula to blend it more seamlessly into the background.
- Highlights: Enhance the highlights with a white pencil or eraser to create a greater sense of contrast.
- Shadows: Deepen the shadows to add more depth and dimension.
Background:
Consider adding a subtle background to enhance your nebula. You can use a dark blue or black to represent the vastness of space. A light scatter of white dots can represent distant stars.
Nebula Drawing Easy: Frequently Asked Questions
Hopefully, this clears up any questions you might have after reading the guide to nebula drawing easy.
What kind of paper is best for a nebula drawing?
Smooth paper, like Bristol board, is ideal. It allows for easier blending of colors, which is essential when creating a beautiful nebula drawing easy! Textured paper can work, but blending might be more challenging.
What are the core materials needed for nebula drawing easy?
You’ll need colored pencils, blending stumps, white gel pens, and paper. A kneaded eraser is also helpful for lifting color. With these simple tools, you can start nebula drawing easy right away.
How do I achieve that smooth, blended look in my nebula drawing?
Blending stumps are your best friend! Use them to gently rub the colored pencil layers together. Build up the color gradually and blend frequently. This technique is key to nebula drawing easy.
Is there a trick to making the stars stand out in a nebula?
Yes! A white gel pen is perfect for adding small, bright stars on top of the colored background. Vary the size and intensity of the stars to create a more realistic effect. This detail really makes your nebula drawing easy and effective.
So there you have it! We hope this guide inspires you to start your own cosmic journey. Now grab your pencils, unleash your creativity, and have some fun with nebula drawing easy!


